Having a beautiful, green lawn is a dream for many homeowners. Not only does it enhance the beauty of your property, but it also creates a welcoming outdoor space for relaxation and play. One of the most effective ways to achieve that perfect lawn is by laying turf. In this comprehensive guide, we will take you through the essential steps to lay turf like a pro and create a stunning lawn that will be the envy of your neighbors.
Step 1: Assessing Your Lawn
Before diving into the turf laying process, it’s crucial to assess your lawn’s current condition. Identify any problem areas, such as poor soil quality, drainage issues, or weed infestations. Conducting a thorough evaluation will help you determine the necessary preparations required before laying the turf.


Step 2: Soil Preparation
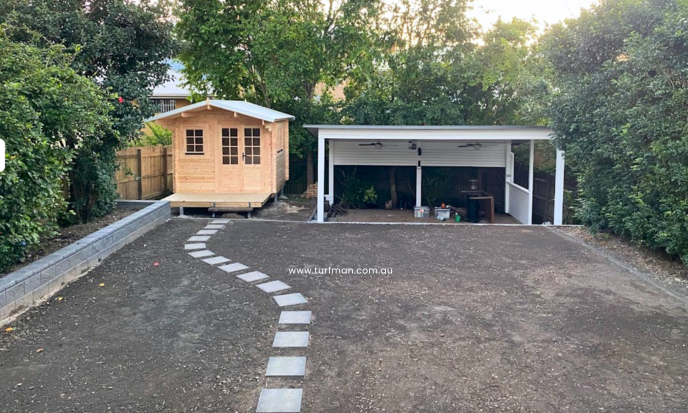
Healthy turf needs a solid foundation, and that starts with the soil. Begin by removing any existing vegetation, weeds, and debris from the area. Then, till the soil to a depth of at least 4-6 inches to break up compacted soil and improve aeration. Incorporate organic matter, like compost, into the soil to enrich its nutrients and create a favorable environment for turf establishment.
Step 3: Leveling the Surface
To ensure an even and uniform lawn, you must level the surface. Use a rake and a leveling tool to smooth out any bumps or dips in the soil. Pay special attention to slopes, as water runoff can be problematic for the turf’s health. Aim for a gentle slope that allows water to drain evenly across the lawn.

Step 4: Installing an Irrigation System
Proper watering is essential for the successful establishment of your new turf. Consider installing an irrigation system before laying the turf to make watering more efficient and hassle-free. An automated sprinkler system can be programmed to deliver the right amount of water at the right times, promoting healthy root development.

Step 5: Choosing the Right Turf
Selecting the appropriate turf variety for your climate and lawn usage is crucial. Research different turf types available in your area, considering factors like shade tolerance, maintenance requirements, and drought resistance. Opt for high-quality turf from a reputable supplier to ensure the best results.
Step 6: Laying the Turf
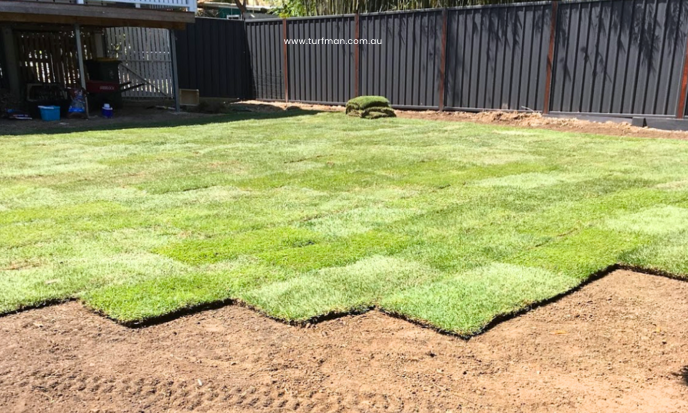
Now comes the exciting part—laying the turf! Start by unrolling the first row along a straight edge, such as a path or driveway. Butt the edges of each turf roll tightly against each other to eliminate gaps. Use a sharp knife to trim the turf to fit around corners or irregular shapes. Stagger the joints in a brick-like pattern to provide a seamless appearance.

Step 7: Watering and Rolling
Immediately after laying the turf, give it a good watering to help it settle into the soil and establish proper root-to-soil contact. Use a water roller to ensure the turf’s roots are in firm contact with the soil. Water the newly laid turf frequently in the first few weeks to encourage healthy growth.


Step 8: Lawn Maintenance
Congratulations, you now have a beautiful new lawn! To keep it looking its best, maintain a regular lawn care routine, including mowing, fertilizing, and aerating as needed. Regularly inspect for pests and diseases, and address any issues promptly to prevent them from spreading.

Laying turf is a rewarding and relatively straightforward process that can transform your outdoor space into a stunning, vibrant lawn. By following these step-by-step instructions and giving your new turf the care it deserves, you’ll enjoy a beautiful, healthy lawn that will provide years of enjoyment for you, your family, and your friends. So, roll up your sleeves, put on your gardening gloves, and get ready to bask in the satisfaction of a lush, green oasis right outside your doorstep. Happy turfing!
